Tuesday, July 26, 2016

Baked Cinnamon Kabocha Squash

So, have you heard of a kabocha squash because I hadn't until my husband brought it home this week thinking it was an acorn squash LOL! I saw it and immediately knew it wasn't one BUT I was kinda happy because I've never met a squash I don't like (like my friend Andrea says) and I was pretty psyched to try making this one!

I read up on Kabocha on a fave blog of mine called Nutritious Eats and learned a lot about Kabocha before making it!  If you are new to Kabocha, it’s similar to pumpkin or  acorn squash, but even better because it’s even sweeter and has the perfect fluffy interior.  Plus it's a nutritional GEM!  This anti-inflammatory food is bursting with nutrition. It’s full of beta carotene, iron, vitamins A, C, fiber and some B vitamins. And it’s got 40 calories per cup AND less than half the carbs of most other squash (about 7 grams per cup). Seriously a super food so, needless to say, after making this recipe and trying it, I scurried off to the store and bought some more today! 
So this basic cooking technique can be applied to any large squash really. Here we go.
One of the trickiest parts about large squash is cutting them. Honestly I am in fear at times that I am going to take that large knife and jam it straight into my body because most squash is hard to cut! Like really hard! I had to get pretty forceful with this one and that is why I typically roast mine in larger wedges versus trying to cut it into thin stripes. I mean, I’d really like to keep all my fingers!
Just like any other squash you can add chopped kabocha to stews or puree into soups, baked goods or breakfast items like pancakes! I love it just like this though!

Here is a video link on making it and below is the recipe! Don't mind the crying kiddos in the background, that's life! LOL


Ingredients
  • 1 kabocha squash, cut in half lengthwise, seeds removed, then in slices about 2 in
  • 2 Tablespoons virgin unrefined coconut oil, olive oil or olive oil spray
  • Pinch of salt
  • Siagon roasted cinnamon (can substitute regular cinnamon)
  • INSTRUCTIONS
    1. Preheat oven to 400 degrees. Line a baking sheet in foil. Start with the tip of your knifes in the center of the squash and cut in half lengthwise, using a rocking motion on the knife to get it through (don't try to yank out the knife though). If it won't go through, gently remove knife, rotate half and cut through the other side the same way. Push the halves apart with your hands. Using a spoon, scoop out the seeds and stringy flesh and discard. Cut each half into 3 wedges (lengthwise).
    2. Melt coconut oil in microwave, toss with squash wedges. Season lightly with salt, then sprinkle generously with cinnamon. Bake for 30-35 minutes or until fork tender and browned in places.
    NOTES
    Store Kabocha in a cool, dry, dark place. They can last up to several months.
    You can use any spices you want to season this squash with, or just basic salt and pepper. It's also good with a drizzle of maple syrup.

Wednesday, July 20, 2016

Two of my Favorite Al Fresco Sausage Recipes

Sausage!  One of my family's favorite food to grill and have for dinner because there are SO many different ways to enjoy it! You can grill them, serve them over pasta, pair them with veggies, have them as a sandwich! Now... the KEY is to find a sausage that is not only tasty but is also clean and preferably chicken.

As a health and fitness coach, I want to feed my family only the best and I was pretty excited when I was asked to try Al Fresco's Sweet and Smokey BBQ sausages!  They are made with lean, skinless chicken meat, 30% less sodium than all pork sausage and gluten free!  Plus they're already fully cooked so they're ideal for a quick and easy meal!


When we have sausage, they're usually grilled on the BBQ, whether they're raw or fully cooked, because it gives them an extra yummy flavor, but when we had these, we just tossed them for a few minutes in a skillet and they were ready to eat!  I've made them a few ways in the past week and below are two of the recipes that were a hit with the family! One is over salad and the other is over clean and healthy carbs!


Sausage Summer Salad
Slice the sausage and saute in a skillet for 3 to 5 minutes, then set aside.  Add the spring mix salad blend (spinach, arugula, baby greens, etc) in a bowl.  Add tomatoes, cucumbers and peppers.  Add the sausage on top. Toss in balsamic vinegar, a hint of olive oil, lime juice and enjoy! Pair with a baked sweet potato if you'd like to add some clean and healthy carbs to your meal!


Sausage, Quinoa and Spaghetti Squash

Slice the sausage add it to a skillet along with the chopped tomatoes.  Saute the sausage and tomatoes in the skillet for 5 to 7 minutes.  Remove and set aside.  

To make the spaghetti squash, slice the squash in half, take out the seeds and loose interior as you would a pumpkin, then place face down on a greased cookie sheet. Bake at 400 degrees for about 30 to 40 minutes. Let cool when done, then scrape out the "spaghetti" with a fork.  Set aside.

While the spaghetti squash is cooking, make your quinoa.  Place the quinoa in a skillet with 1 part quinoa to 2 parts water.  Bring it to a boil, cover and simmer until all liquid is absorbed.  When done, set aside.  

After sausage, spaghetti squash and quinoa is done, it's time to make your dish! First place spaghetti squash on a plate. Top with some quinoa and blend slightly.  Then top with sausage and tomatoes, then serve and enjoy! 

These are just two of the many recipes you can enjoy with Al Fresco sausages!  If you'd like to see more, head over to the Al Fresco Summer Sweepstakes and vote for your favorite one! You'll find lots of grilling recipes using the Sweet & Smokey BBQ variety I used above in my recipes and if you vote, you'll be entered to win $500 PLUS a high quality grill valued at $500 as well!  If you have a recipe of your own, you can also enter it into the contest!  Click HERE to see the recipes, vote and enter! Contest runs from June 20th through July 31, 2016.


This is a sponsored conversation written by me on behalf of al fresco. The opinions and text are all mine.

Saturday, July 16, 2016

Bacon Tomato Cucumber Salad


Bacon Tomato Cucumber SaladCucumber Salad!
Making this for lunch today but tweaked the recipe to clean it up a bit! Greek yogurt vs mayo & 1/2 turkey bacon with 1/2 reg good ol' bacon to lighten it up a bit! Still delish!

Ingredients
1-2 cucumbers
1 chopped tomatoes
2 slices bacon
2 slices turkey bacon
1-2 tbsp. plain Greek yogurt
fave no salt seasoning
black pepper

Instructions
Spiral cut your cucumbers.
Add in your tomato, spices and Greek yogurt then stir.
Crumble up the cooked bacon & sprinkle on top.


1 red 1 green 

Tuesday, July 12, 2016

How to Cook Lentils

Lentils
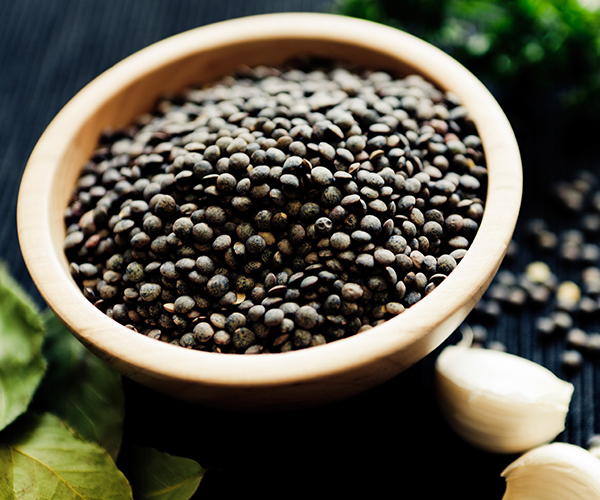
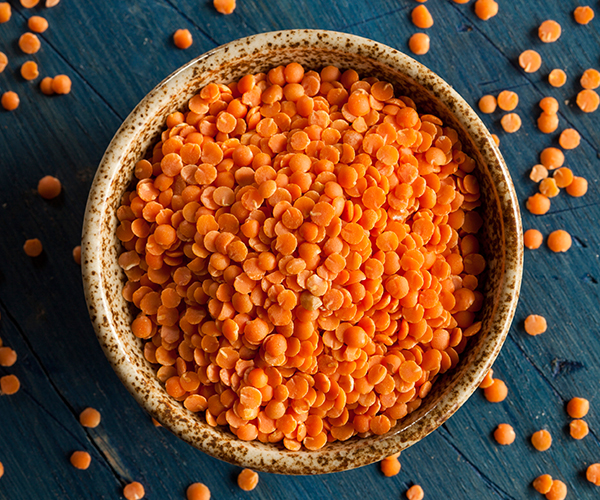
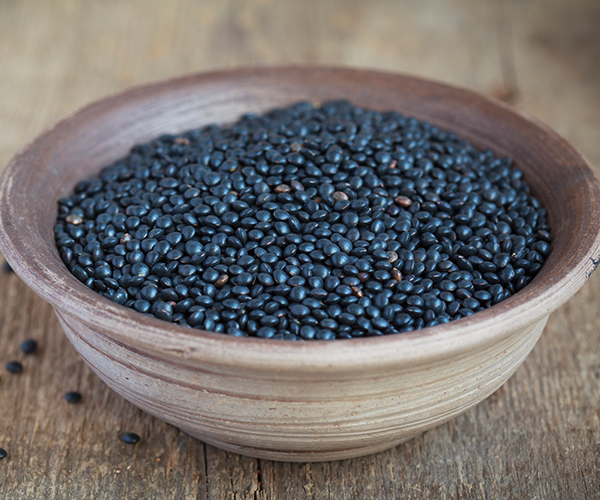
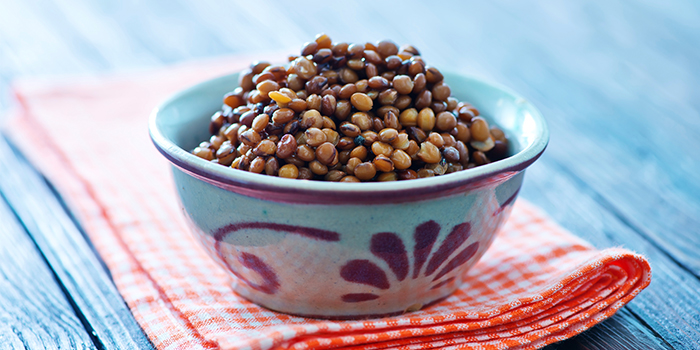
Many recipes include pre-cooked items such as lentils, chicken, quinoa, and sweet potatoes. And while some of you are expert chefs, It's nice to even the playing field with a series of how-to articles that will teach you how to cook the basics. For starters, today it'll be how to cook lentils!
Lentils are cheap, cook up quickly, and are loaded with fiber and protein. When eaten together with rice, they form a complete vegetarian protein. Look for them in the bulk bins of your grocery store, or packaged with other dried beans. Some markets sell pre-cooked lentils, but they are easy to make yourself and cost just pennies per serving.
Lentils come in a variety of colors, from brilliant orange and red to muted green and brown, and each has its own flavor and texture profile. It’s also important to note that the cooking time differs between each.

Brown Lentils
Whether they are a light, khaki color or dark greenish-brown, brown lentils are the most common type of lentils. They have a mild, creamy flavor similar to kidney beans. These are the lentils used in our recipe below. They hold their shape well, but can also be easily mashed to form bean burgers or vegetarian meatloaf.  Brown lentils have a similar cooking time to white rice, so you can cook them together with a variety of spices, like cumin, curry, or cardamom.
Varieties: Spanish Brown, German Brown, Indian Brown
Cooking time: 20–30 minutes
Brown Lentils | The Beachbody Blog

Green Lentils
Ranging from pale sage in color to dark green mottled with brown or black, green lentils have a robust earthy and slightly peppery flavor. They generally take the longest to cook, and when done, their exterior texture remains firm, while the interior is tender. Because they hold their shape so well, they are ideal as a hearty side dish or served as a bed for proteins.
Varieties: Puy, French Green
Cooking Time: 30–40 minutes
Green Lentils | The Beachbody Blog

Red Lentils:
These thin discs look similar to split peas. Red lentils are the sweetest and mildest pulse in the lentils family and range in color from red to pink to pale yellow. This variety cooks quickly and breaks down to form a flavorful, thick paste that is perfect for soups, stews, curries, and sauces.
Varieties: Crimson or Red Chief (also known as masoor dal)
Cooking time: 15–20 minutes
Red Lentils  | The Beachbody Blog

Black Lentils:
When cooked, tiny black lentils glisten like beluga caviar, creating a dramatic color contrast with other ingredients in a dish. They have a rich, nutty flavor and velvety texture that tastes great in green salads, pastas, and mixed vegetables.
Varieties: Beluga, (also known as urad dal)
Cooking Time: 30–40 minutes

Keep tasting your lentils as they cook to see if they’re the texture you want — firm if you’re eating them as a side dish, softer if they’re meant for soup or stew. Once lentils are cooked, pair them with fish, chicken, or pork loin, or keep them in the fridge to use in a buffet-style meal prep. They can also take the place of beans in soups and chilis. Want to get really adventurous? Try scrambling them with eggs, tossing them in green salads and grain bowls, and add some vinegar to help further enhance their flavor.

How to Cook Lentils:
Total Time: 30 min.
Prep Time: 5 min.
Cooking Time: 25 min.
Yield: 4 servings, ½ cup each
Ingredients:
1 cup dry brown lentils
1¾ cups water
Sea salt (to taste; optional)
Preparation:
1. Sort through lentils to make sure there are no small stones. Rinse lentils in colander under cool water.
2. Bring water and salt to a boil in medium saucepan over high heat; add lentils.
3. Bring back to a boil; cover, and reduce heat to maintain a gentle boil; cook for 20 minutes or until lentils are tender.
Notes: 
To add even more flavor, use broth instead of water.
Have a rice cooker? Using 1:1.75 water ratio and make them with the touch of a button.
Lentils | The Beachbody Blog

Thursday, July 7, 2016

Easy Crock Pot Chicken Breasts


This is one of my favorite recipes next to my Crockpot salsa chicken which is very similar, minus the veggies and tomatoes.

All you need for this are a few ingredients, a crock pot and 6 hours! I make a LOT of chicken because I meal prep this for the week so adjust the quantity accordingly.

PREP: 10 MIN COOK: 6 HOURS ON HIGH

INGREDIENTS:
--4 lbs boneless, skinless chicken breasts sliced thin
--1/2 container of your favorite salsa
--1 can chopped Italian tomatoes
--2 small sliced onions
--2 sliced tomatoes
--Fresh squeezed lemon juice
--Seasoning of choice. I use coconut lime seasoning from Sam's club or No salt seasoning from Costco. Both are delish!
(optional: fresh lime wedges for serving)

DIRECTIONS:
1.  Place a layer of chicken breasts in a slow cooker and sprinkle seasoning on top. Then squeeze a lemon and layer tomatoes, onions, salsa and italian canned tomatoes on top.

2. Repeat this step until you use all of the chicken. If you have anything left over (tomatoes, onions or a little extra salsa, just pour it on top)

3. Cover and cook on high for 6 hours (or low for 8 hours), or until the chicken comes apart easily with a fork.

4. Serve immediately, or refrigerate in an airtight container for up to 5 days. This chicken also freezes well so freeze whatever you don't use

5. Serve with vegetables, as tacos with tortillas, over quinoa or rice, with pasta, over a salad or by itself. It is delish either way. And you can add any veggies you'd like such as mushrooms, bell peppers, etc.

*To make it the cleanest way possible, use no salt seasoning, low sodium canned tomatoes and organic salsa.

Saturday, July 2, 2016

Simple Breakfast Just in Time for the 4th!

Peanut-Butter-Banana-Berry-Toast

Cute idea for an Independence Day breakfast! Peanut butter, banana & berry toast!

Total Time: 15 min.
Prep Time: 15 min.
Cooking Time: None
Yield: 1 slice
Ingredients:
2 tsp. all-natural almond butter
1 slice whole grain bread, toasted
11 fresh blueberries
12 fresh raspberries
¼ medium banana, cut in half lengthwise, cut into ½-inch slices
Preparation:
1. Spread almond butter evenly on toast.
2. To create a fruit flag, place five raspberries in a line parallel to the bottom of bread.
3. Place banana slices above raspberries.
4. Repeat with raspberries.
5. Place one banana slice on right side above raspberries.
6. Place two raspberries above banana slice.
7. Place one banana slice above raspberries.
8. Create a square of blueberries on the upper left corner. Serve.
Calories in Peanut Butter Berry Banana Toast
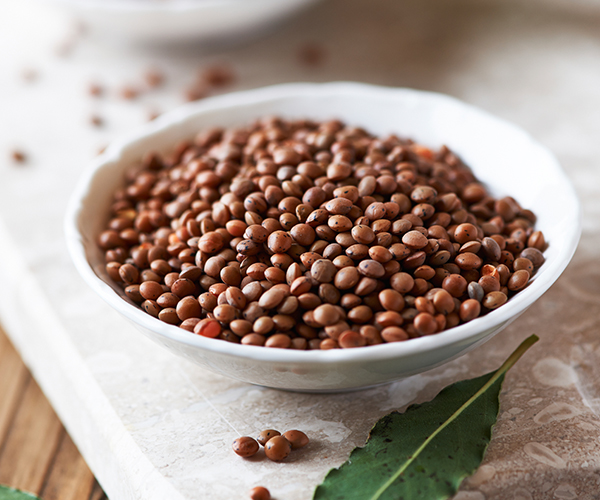
Photograph by Amanda Mexiner via the Team Beachbody Blog